Thursday, December 20, 2012

TeardownTube - episode 14 - Nintendo DS

Here's the 14th episode of TeardownTube. Subscribe, comment, and like if you want to see a different device dismantled every week. The videos are not detailed instructions for repair but rather just for entertainment. Enjoy.


In this episode I explore inside a vintage 2004 Nintendo DS, the first in the line of the current gen dual screen portable game consoles. How did Nintendo manage to squeeze two 3" LCDs into your pocket? Find out in the video above.

Link: TeardownTube - episode 14 - Nintendo DS

Tuesday, December 4, 2012

TeardownTube - episode 13 - PSP Go

Here's the 13th episode of TeardownTube. Subscribe, comment, and like if you want to see a different device dismantled every week. The videos are not detailed instructions for repair but rather just for entertainment. Enjoy.


In this episode I tear into a sexy PSP Go I managed to score "broken" on Ebay for only $30. A stupidly easy fix. How did Sony manage to fit all of the goodness (well except for the UMD drive) of the psp down into the miniscule PSP Go? Find out as I explore and delve headfirst and have a "Go" at the PSP Go ... see what I did there?!!

Link: TeardownTube - episode 13 - PSP Go

Wanna read my repair experience for this device? Read the writeup HERE!

Monday, December 3, 2012

Broken PSP Go repair

I was crawling around Ebay about two weeks ago looking for good deals on broken but repairable electronics like I normally do. I've bought up countless iPods in the past to repair and resell. In fact just over Thanksgiving break I found a Nintendo DS that works perfectly but has a broken hinge for $5, but that is a story for another day. So begins a tale of an adventure on my most recent excursion.

This time I found a PSP Go (the full sized PSP's little digital media only cousin) that was listed by the seller, who was a reseller likely with no specialized knowledge about hardware, as "not turning on" and "unable to test without a charger". The description and the price ($30) piqued my interest. The photos posted showed that the unit was in good physical condition (with the exception of some scratches on the lcd). I wagered on the unit not having any water or electrical damage. It takes some experience and intuition to be able to tell what is repairable and what is too far gone. I just felt it in my gut that this would all work out in the end. So I took a gamble and quickly bought the device. I just hoped I hadn't thrown $30 away on a expensive paper weight. After all that has happened in the past.

It just arrived today and I excitedly returned with the small package to my dorm room to begin operation. I was so excited that I slammed my knee into my desk twice and winced in pain as I attempted to diagnose the device. Just as the seller said the device did absolutely squat when the power switch was pressed. No surprises there!

So I opened her up. Thanks Sony for using standard Phillips screws! If only they wouldn't use proprietary hardware ... but I digress. I was inside in under a minute. The only thing that was keeping me from the battery was an annoying warranty void sticker. Hah like I care. RIPPPPP! Well there goes the likely long gone warranty. I measured the voltage on the lithium ion battery and unsurprisingly it was completely dead. Oh well. Like the seller I didn't have the charging cable ... cough cough .. proprietary hardware ... so I was seemingly out of luck.

But I'm an engineer and engineers are stubborn but more importantly they are resourceful. I had a familiar max1555 (lithium ion/polymer battery charge controller) wired up on a breadboard. Of course another problem popped up, the battery used an annoying tiny connector but all was not lost. I'm up at college so all I had was some twisty ties so I cut off the insulation and just poked the wires into the connector, dirty and ugly but it'll work. Now I just needed 5-8V preferably without sacrificing a USB cable or power cord. I had a USB to USART bridge module on hand and luckily it has a 5V output so I just tapped into that. I plugged it into a USB wallwart and waited for the battery to charge a bit. I hooked up a meter to keep an eye on the battery's voltage.

Well after the battery sat there for a while I grew impatient so I measured the battery to make sure it had some charge and threw it back into the device. I waited with bated breath as I flipped the power switch ... big fat NOTHING!!! Of course it wouldn't be that simple. Oh well ... save me Google! A few minutes of research netted me with the hint that holding left on the D-pad while pressing power may yet resurrect my unit. I had nothing to lose so tried it ...

... and the PSP rose from its slumber to greet me with the XMB. Yeah. Now we are cooking. I thoroughly tested the unit and everything works. I ended up getting a device which used goes for around $80-100 online for only $30. All I needed was some patience, perseverence, and a huge pair of ... engineering skills!

Every device I fix or take apart gives me experience and knowledge. I highly recommend going to thrift stores or surfing Ebay and picking up cheap old electronics to mess around with. There is no guarantee that everything will work out as well this experience, but the skills I have gained from not just my successes but also my failures work to further my capabilities as well as my confidence. Every little lesson is invaluable.

Sorry I rambled on for a bit, but I just felt like trying to inspire other fellow engineers just starting out to take the plunge and mess around with some otherwise "broken" electronics and possibly save them from ending up in a landfill. Engineering and life are about being fearless and resourceful when conditions are not optimal. In the end I will be happy if my writeup was marginally entertaining and inspired others to do something similar.

As always comment below if you have any questions or are in need of advice. I always try my best to help. See you at my next electronics hacking or repair escapade!

Tuesday, November 20, 2012

TeardownTube - episode 12 - External DVD Burner Drive

Here's the 12th episode of TeardownTube. Subscribe, comment, and like if you want to see a different device dismantled every week. The videos are not detailed instructions for repair but rather just for entertainment. Enjoy.


In this episode I take a peek at the inner construction of a standard laptop DVD burner drive inside of a usb to pata enclosure. How do they make these small enough to fit into the slimmest of laptops? Find out now.

Link: TeardownTube - episode 12 - External DVD Burner Drive

Saturday, November 10, 2012

TeardownTube - episode 11 - Western Digital Passport External Drives

Here's the 11th episode of TeardownTube. Subscribe, comment, and like if you want to see a different device dismantled every week. The videos are not detailed instructions for repair but rather just for entertainment. Enjoy.


In this episode I look inside two of my Western Digital Passport series drives. Is WD pulling a fast one on consumers? How did they manage to make the usb 3.0 drives even smaller than their older usb 2.0 variants? Watch to find out.

Link: TeardownTube - episode 11 - Western Digital Passport External Drives

Saturday, October 27, 2012

TeardownTube - episode 10 - AAXA Technologies P1 Jr Pocket Projector

Here's the 10th episode of TeardownTube. Subscribe, comment, and like if you want to see a different device dismantled every week. The videos are not detailed instructions for repair but rather just for entertainment. Enjoy.


In this episode I tear into my recent purchase. I've finally jumped on the bandwagon and bought a pocket pico projector. See what sorcery allows such a tiny device to project up to a 40 inch image.

Link: TeardownTube - episode 10 - AAXA Technologies P1 Jr Pocket Projector

TeardownTube - episode 9 - Gameboy Color and Game Cartridges

Here's the 9th episode of TeardownTube. Subscribe, comment, and like if you want to see a different device dismantled every week. The videos are not detailed instructions for repair but rather just for entertainment. Enjoy.


In this episode I take a look at the first Nintendo portable system to sport a color screen. Just how similar is it to its monochrome cousin, the gameboy pocket? Also as a special treat I explore the insides of a few gameboy and advance cartridges as well as a flashcart I had sitting around. Enjoy.

Link: TeardownTube - episode 9 - Gameboy Color and Game Cartridges

TeardownTube - episode 8 - Gameboy Advance SP+

Here's the 8th episode of TeardownTube. Subscribe, comment, and like if you want to see a different device dismantled every week. The videos are not detailed instructions for repair but rather just for entertainment. Enjoy.


In this episode I continue on with portable video game hardware history. What magic did the engineers at Nintendo squeeze into the foldable gba sp+? Watch to find out.

Link: TeardownTube - episode 8 - Gameboy Advance SP+

Monday, September 17, 2012

Nokia LCD PIC driver revamp

It's been quite some time since I've published my last post on interfacing a Nokia 84x48 monochromatic LCD to a PIC microcontroller but I recently got the itch to port the driver code from its original assembler to the language I use most now, C. Once again I opted to write the SPI interface in software since it gives greater flexibility although at the cost of speed. I've upgraded from my paltry pic16f84a to the pic16f887 which offers several improvements including more memory, gpio, and an internal oscillator as well as many useful peripherals.


I've also picked up many useful programming tricks up my sleeve since then. This time I've made the driver faster as well as added direct support for drawing full 84x48 black and white images that can be drawn in Microsoft paint. If anyone wants I can write up a tutorial on drawing an image in paint and exporting it to another program to generate the hex array that my PIC uses to draw. But for now enjoy the pretty pictures.


This software will make it much easier to develop user interfaces and graphics for future devices. I realize that the display I am using is a bit outdated, but the practice is useful towards someday interfacing to much higher resolution color displays. Anyway, I think I've rambled on for long enough. Here are the source and image files. Feel free to ask for any help should you wish to integrate this display into your own project. Stay tuned because I have many cool projects and videos planned.

Files up on MediaFire

Friday, September 7, 2012

TeardownTube - episode 7 - Gameboy Pocket

Here's the 7th episode of TeardownTube. Subscribe, comment, and like if you want to see a different device dismantled every week. The videos are not detailed instructions for repair but rather just for entertainment. Enjoy.


In this episode I venture into the past of portable video gaming when I lurk inside an old gameboy pocket. Find out what makes up the device which provided many children hours of joy in the 90's.

Link: TeardownTube - episode 7 - Gameboy Pocket

Tuesday, August 28, 2012

TeardownTube - episode 6 - Hard Drive


Here's the #th episode of TeardownTube. Subscribe, comment, and like if you want to see a different device dismantled every week. The videos are not detailed instructions for repair but rather just for entertainment. Enjoy.


In this episode I venture past the warranty stickers and torx screws in order to get a peek inside an old 40GB pata 3.5" disk drive I had collecting dust in a drawer. I will be going back to college soon so I will have to put off uploading episodes until I get settled. I will definitely be back and I have some cool surprises planned. Stay tuned!

Link: TeardownTube - episode 6 - Hard Drive

Thursday, August 9, 2012

TeardownTube - episode 5 - Gemei 4GB MP4 Player

Here's the 5th episode of TeardownTube. Subscribe, comment, and like if you want to see a different device dismantled every week. The videos are not detailed instructions for repair but rather just for entertainment. Enjoy.


In this episode I reveal what cost cutting measures Chinese companies use to make the cheapest devices possible. Is it possible that I found a cheap MP4 player which isn't doomed for the trash and is worth more than the sum of its parts? Watch to find out.

Link: TeardownTube - episode 5 - Gemei 4GB MP4 Player

Tuesday, July 31, 2012

TeardownTube episode 4 - Palm Tungsten T2

Here's the fourth episode of TeardownTube. Subscribe, comment, and like if you want to see a different device dismantled every week. The videos are not detailed instructions for repair but rather just for entertainment. Enjoy.

In this episode I take a look at an old Palm computer I found at a local thrift store for a few dollars. Have I finally met my match: a device which I cannot dissect? Watch to find out.

Thursday, July 26, 2012

TeardownTube episode 3 - PSone

Here's the third episode of TeardownTube. Subscribe, comment, and like if you want to see a different device dismantled every week. The videos are not detailed instructions for repair but rather just for entertainment. Enjoy.


In this episode I crack open an old playstation one I scored at a thrift store a few years back. Its modchipped and awesome when paired with the 4" screen attachment.

Link: TeardownTube - episode 3 - PSone

Monday, July 23, 2012

TeardownTube episode 2 - Gamecube

Here's the second episode of TeardownTube. Subscribe, comment, and like if you want to see a different device dismantled every week. The videos are not detailed instructions for repair but rather just for entertainment. Enjoy.

In this episode I take a look inside an old Gamecube that was collecting dust in my closet. And then I put it all back together.

Friday, July 13, 2012

TeardownTube episode 1 - Floppy Drive

I've started a new show on Youtube called TeardownTube and just posted the first episode. Join me as I tear apart and comment on various devices for your entertainment. Subscribe, comment, and like if you want to see a different device dismantled every week. The videos are not detailed instructions for repair but rather just for entertainment. Enjoy.

 
In this episode I dismantle an old 3.5" floppy drive I pulled from an old tower PC. Ahh ... the smell of vintage computer hardware.


Friday, June 22, 2012

Fixing a PS3 Controller that Wont Charge

Recently I found a cheap used PS3 at a local Game and Trade that was closing its doors. It's the older "fat" 80GB model. Everything was in pretty good condition except for the controller. It was obviously the store demo controller and thus was unbelievably disgusting. I had to handle it with gloves on. I entirely disassembled it and disinfected every part of it. There were a few things wrong with it:

1) I never eat or drink while playing for good reason (there was dried soda and chip fragments inside) along with mass amounts of gunk amassed from every hand that touched it.
2) There was a screw missing and the bottom tab snapped off so it was obviously opened before.
3) The analog nubs were missing their rubber tops.
4) I didn't realize it until the controller had low battery, but it refuses to charge.

I easily remedied the first two with a thorough cleaning and a screw from my screw collection. The third will be repaired with some help from my friend EBAY. Finally the last one was a little tricky. I think the charging issue might be due to some liquid damage. I measure the voltage when plugged into a USB adapter and noticed that instead of a nice 5V, I was getting a unstable 2V. This explains why the PS3 complains about too much current being drawn when the controller is plugged in. I figured I had nothing to lose so I went about trying to fix this problem.

Ultimately I figured that it would be far easier and cheaper to add in my own charging circuitry than track down the short circuit culprit and replace parts I likely did not have on hand. I started with a chip I am very familiar with and had in my parts box, the max1555. This tiny five pin smt chip handles safely charging the lithium ion battery and even has an open collector output that is on when charging and off when done. It accepts USB 5V or DC up to 7V or so. I etched my own board and decided to make things difficult for my self by making it tiny (it ended up being not much larger than the sot23 package).

I simply opted for a quick and dirty approach by covering a single sided copper clad pcb with permanent marker and scrapped the areas I wanted etched with a scalpel.

Size comparison  to a US quarter.
Man its hard taking pictures of something so small.
All etched and ready to have marker removed with the help of some acetone.


Close ups after soldering in the components with a penny as a reference for size.

I proceeded to test the circuit by hooking her up to a lithium ion battery and measuring voltage and current. Crossed my fingers and held my breath just waiting for a small poof of failure which luckily never came.
Just shy of 4V, looks good.
Charging at around 100mA looks safe.

Finally I needed to desolder (used a hot air gun, Warning: HOT) the USB female jack from the controller board and lift the V+ power pin so it would no longer power the broken internal charge circuitry and instead hooked into my own charger. I had to be quick but gentle with the hot air so I wouldn't damage anything.
 Pulled socket and used desoldering braid and some alcohol to clean up a bit.
 Cleaned up the socket as well and lifted the V+ pin.
Replaced and soldered down.
Now all I needed to do was solder three wires: ground, V+ in, and battery+.
 Battery+ is orange and ground is brown. I used the gnd pad conveniently silk screened for me and plugged the battery in to find the battery+ (red wire on the battery).
 V+ in from USB is white and soldered to the lifted pin
Quick test to make sure everything still works. No magic smoke released here.
 Taping wires so they wont interfere with the battery. I used some more tape to attach the charging board to the front under the SONY emblem.
 Battery inserted.
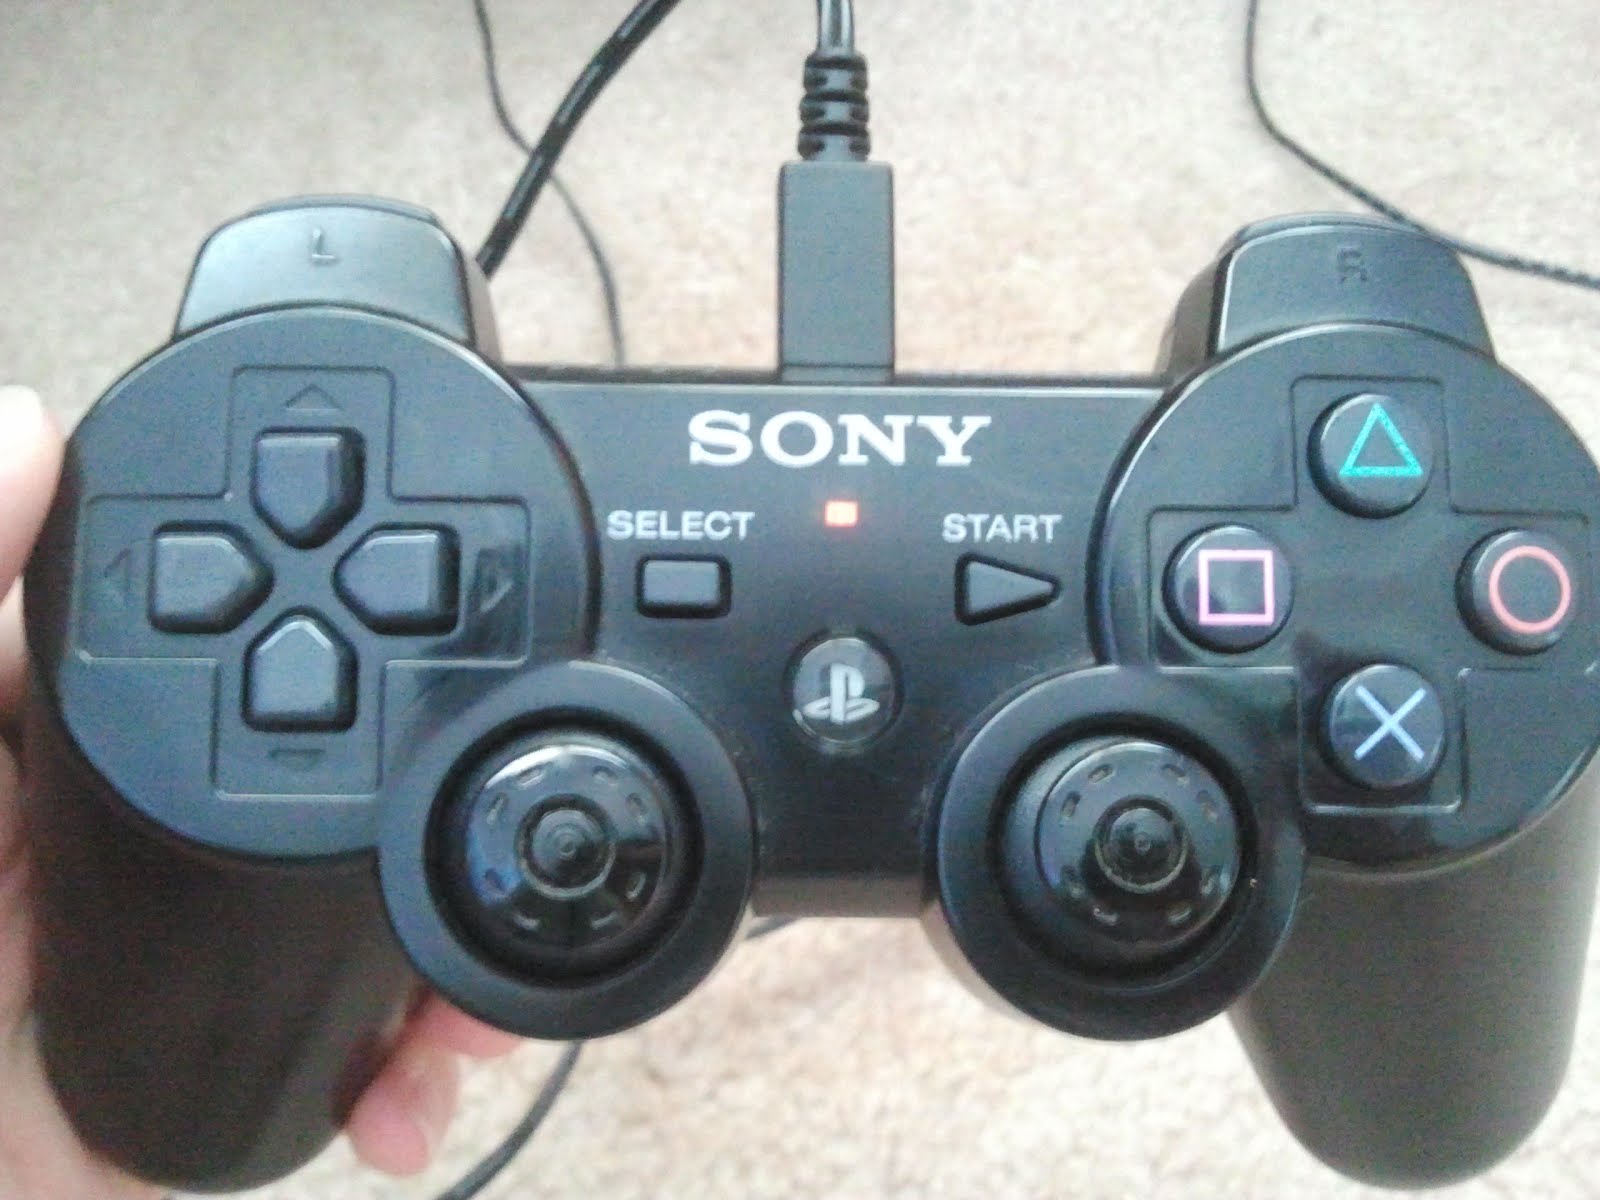
 All put back together and charging status led visible as an orange glow on the front.

Outcome: Success! Now I just need to replace the nubs and I'll have a good as new controller without having to shell out another fifty or sixty bucks. I already had all the parts so it cost nothing and only took around 2 hours in all. When not charging, the controller looks stock. I feel accomplished and saved a controller from being scrapped. Now I can get back to gaming once it charges up.

Tuesday, May 8, 2012

Digital Magic 8 Ball

Is this one of the coolest projects I've made on the spur of the moment?
 The magic 8 ball is always correct!

I remember I used to have a magic 8 ball key-chain as a kid. I loved asking it the stupidest questions and seeing it magically divine the answer. Either that or it just repeatedly responded with an anti-climatic ask again later. One day the magic just dried up ... literally, the purple fluid in the cavity evaporated! Randomly remembering this device, I decided on the spur of the moment, after learning how to seed and use the rand() function in the standard c library, to make my very own digital magic 8 ball (which would be impervious to drying up, but still vulnerable to releasing its magic smoke).

I've moved on up from the pic16f84a to the 16f886. I know it is overkill for most of what I use it for, but it is great for prototyping because of the large program memory, abundance of peripherals, and gpio. Plus I love using the internal oscillator for anything that doesn't require an accurate clock.

This is the prototyping breadboard I use for everything with the icsp header in the middle, a built in li-polymer battery on the back and integrated charge controller at the top. Ignore the 8 pin dip rtc above the pic, I might add a clock feature and make my magic 8 ball a watch.

The pic starts counting on start up until the user presses the button. This count value (which in effect is somewhat random) then seeds the pseudo random number generator. The number that it comes up with then determines which of the 20 replies the magic 8 ball will give. When the button is pressed again, the user is returned to the main screen asking for another question.

I ported the code I wrote is assembly for the 16f84a which handles spi serial communication in software (I know I could have done it in hardware, but this way was more fun). Then I needed a function to initialize and clear the ram of the oled display. In addition, I ended up having to write a function which would handle parsing strings and generate the data necessary to write them to the graphical display. I wrote most of this months ago and reused code but for a different application. I haven't really optimized anything but everything works and I am happy with it.

The only way to cheat the system is to hold the button or hit it immediately after the main screen loads, which ensures that the count value would be zero, which when seeded into rand() would produce the same value, which will always give the same reply.

I plan on using smt components, ditching the oled pcb, using a CR2032, and polling another button via interrupt so that I can put the micro to sleep and wake it for software power control. The entire device should be not much larger than the 3cm oled (aka perfect as a key-chain). I might think of using an accelerometer or tilt switch and put the oled in the window of an actual magic 8 ball. It would look really cool glowing eerily from the surrounding dark window, magically predicting the future. Might add a clock and fit the entire device to a watch strap so I can wear it around, tell time, and make life altering decisions with it. Maybe I'll add some simple games. Who knows? Either way it will be a great gift for my sister.

Ok ... there's one more question I need to ask it ... magic 8 ball ... will I ever become a famous electrical or computer engineer?
.................................................
... fine then if you don't want to answer me, who needs you anyway ...


ps. A friend suggested I also make a miniature 20 questions ... hmmmm interesting ... maybe later ...
pps. Since summer is here expect many more projects :-)
ppps. I might make a digital fortune cookie with hundreds of different fortunes. Not too hard if I reuse most of my current code.

Here are the C and hex files for the project: Magic 8 Ball files.

Update: Added Schematic


If you have any questions feel free to shoot below. Enjoy

Monday, February 20, 2012

POV display v2.0

Major Update: Its been awhile since I started this rebooted attempt at a POV display. Since then I've moved on up to the pic16f886 and etched a smd pcb for the controller. Here are some pics and a test video with some more explanations. I'm hard at work coding software for it now that the hardware is almost complete. More to come.

 
 Home etched board. I drew the traces with a fine tipped permanent marker.
 Another view.
 All soldered and ready to program the firmware over the in circuit serial programming header.
 Everything secured and wired up. Note the penny I am using to balance the rotor.
 First test is a success!
 Looks even cooler in the dark.
Update: I've finally gotten around to coding a full character set, string manipulation, and scrolling text animation. Unfortunately I'm heading back to university and wont get to touch this project until winter break. I will keep up churning out software projects though (its the only thing that keeps me sane between classes). Plus when I get settled I will start up TeardownTube episodes again. Don't worry I have a lot planned.